Uploading Files
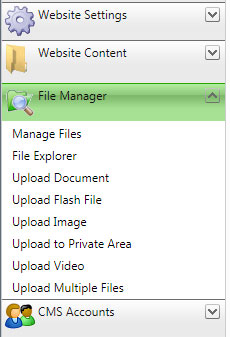
Files can be uploaded to the website using the File Manager module
The file manager stores details about uploaded files in the site database. This then makes the files accessible to other modules such as the page editor which allows you to link files to web pages (See Editing Webpages guide for more info in file linking).
File Explorer
There is also a File Explorer tool which will allow you to browse the uploaded files and organise them into different folders. The file explorer can also be used to upload files without storing details of the file in the database. To upload files in the explorer, click on the 'upload' button at the top.

The best method to upload files is to use the relevent tool. To upload documents, use the 'upload document' tool
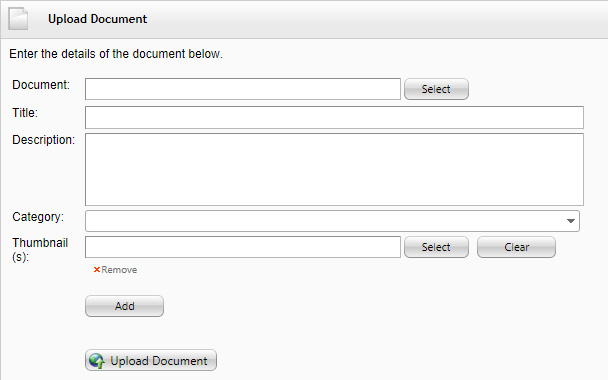
You can create a title and a description for uploaded files, although only the title is required. You can also add multiple thumbnails for the document.
Image Uploading
If you are uploading images, it is best to do this via the Upload Image tool of the file manager. This is because the tool contains automatic resizing and thumbnail creation facilities.

To upload images, first select the image file you want to upload, then select whether you want to resize the image. It is generally better to resize the image using an image editor like photoshop as this has more poweful image processing algorithms, but you can resize the image in the upload image tool. The resizing options are:
no resizing - does not resize the image
resize if wider than.... - will resize the image to the specified width if the image is wider than the selected width.
resize if taller than... - will resize the image if it is taller than a specified height.
resize within bounds - allows you to specify a width and height, and if the uploaded image exceeds either of these bounds, it is resized to fit the area
resize to exact width - will resize the image to the specified with whether it is wider or narrower than this width - this can mean the image is scaled upwards
resize to exact height - will resize the image to a specified height
resize to exact size - will resize the image to an exact width and height.
For all except the resize to exact size option, aspect ratio is preserved so images to not look squashed. With the last option, the image could be squashed horizontally or vertically if the size specified has a different height to width radio to the original image site.
You can auto create thumbnails which generates a copy of the image to a different dimension. Usually, thumbnails are smaller than the original image. The same resizing options are available to thumbnails.
Private Files
If you want to upload a file but keep it available to logged in members, use the upload to private area option. This is similar to upload document, but marks the file as private in the database.
Manage Files
Once you have uploaded files, you can view details about the database of files using the Manage Files tool. This lists all the files uploaded using the File Manager with details about each. If you wish to delete files from the database, this is the place to do it. Note, even if a file is removed from the database it may still appear in the websites folders. You can permanently delete files using the file explorer tool.
File Categories
All files can be given an optional 'File Category'. File categories are used to filter lists of files for different fields in the SiteControlSystem. File Categories are used in the Page Image field of the Page Properties (See Editing Webpages guide) or the Folder Image field in folders (See Editing Folders guide). Some modules also require File Categories such as the Ecommerce Product module which uses the file category Product Image to populate the product image dropdown. See the individual module guides to find out which file categories are required for individual fields.